Planning Power Points & Outlets in Your Kitchen
4 June 2026 · 4 min read
Of all the things that come back to bite people in a kitchen renovation, power points are near the top of the list. Not the cabinetry, not the benchtop, but where the outlets ended up and how many there are. It's a small detail with a big daily impact, and it's far cheaper to get right on paper than to fix once the gib is on and the splashback is tiled.
Start with how you actually use the bench
Before we talk numbers, walk through a normal morning in your head. Kettle, toaster, coffee machine, maybe a jug blender at the weekend. Each of those wants its own space and its own outlet, and the moment you're sharing a single double point between three appliances you're unplugging things constantly.
For a typical Gisborne kitchen I'd suggest planning double power points roughly every 900mm to 1200mm along the working bench, with the appliances you leave out permanently each having their own. A few things worth thinking through:
- Keep at least one double point clear of the splashback "appliance zone" for charging phones or running a hand mixer.
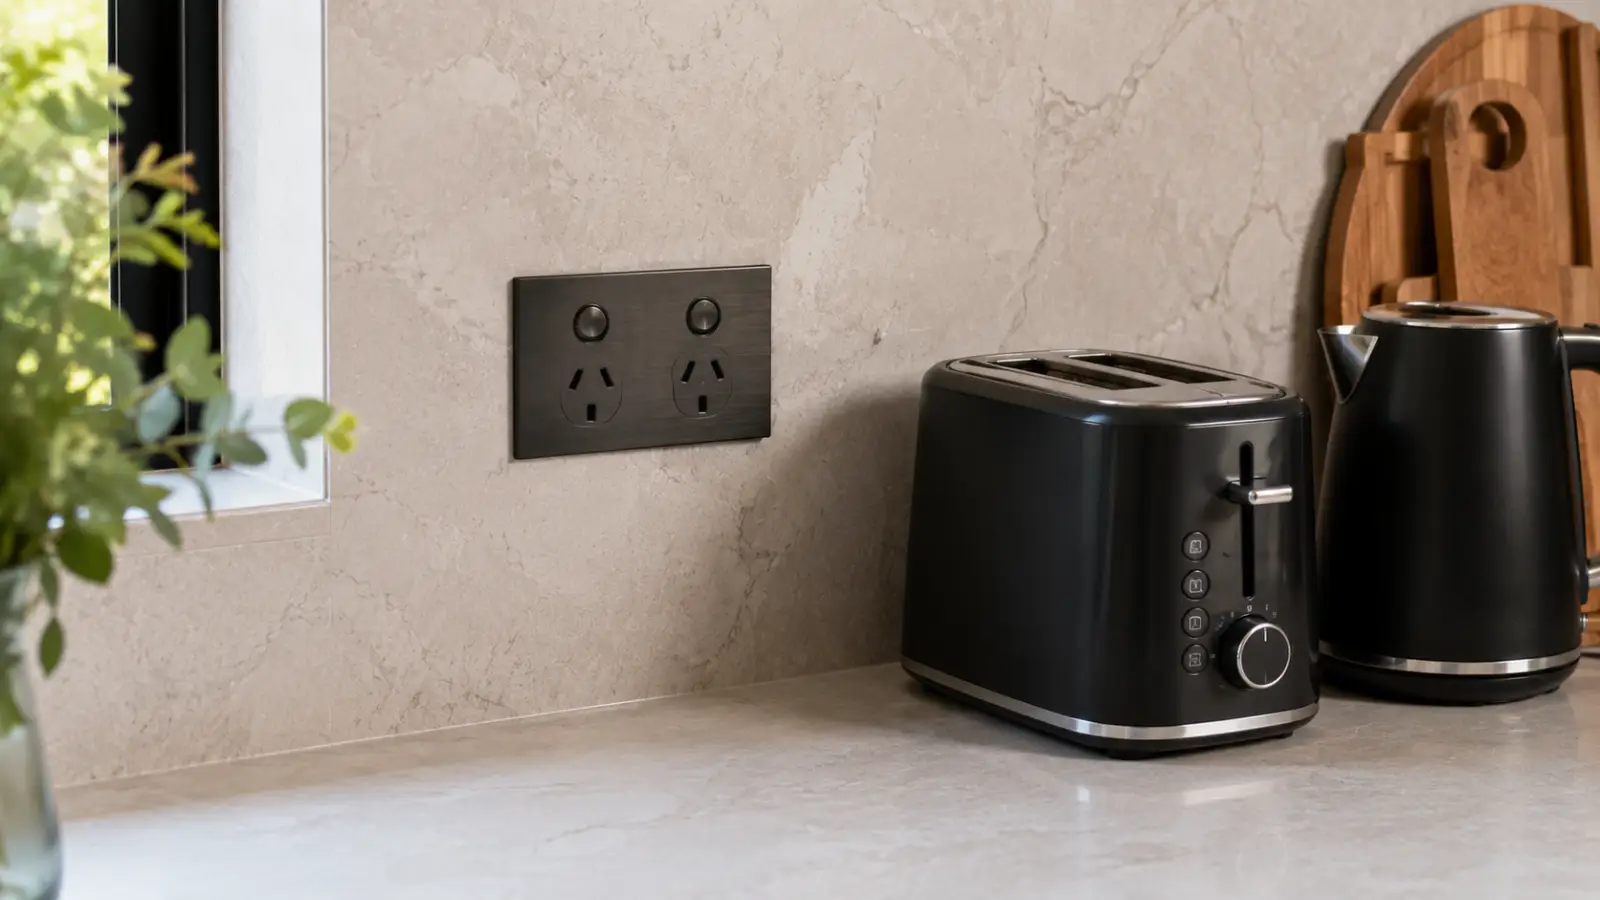
- Mount outlets around 150mm above the benchtop so plugs sit above the splashback line, not behind a leaning toaster.
- If you've got a dedicated coffee or breakfast nook, treat it as its own little zone with its own outlet.
The goal is simple: you should never have to hunt for a spare plug.
Islands need their own plan
Kitchen islands are where outlets get missed most often, because the power has to be fed up through the floor before the slab or flooring is finished. That's a decision you can't easily undo later.
If your island is a working bench, you'll want power on it for a stick blender, a laptop, or charging while the kids do homework. The cleanest options are a flush pop-up outlet that sits hidden in the benchtop until you press it, or points mounted into the end or side panel of the cabinetry. Pop-ups look tidy but cost more and do have moving parts; side-mounted points are simpler and cheaper but more visible.
Decide on island power before the floor goes down. Retrofitting an outlet into a finished island is one of the most expensive "small" changes you can make.
Appliance garages and charging drawers
This is where a bit of joinery thinking earns its keep. An appliance garage is a benchtop cupboard, often with a roller or lift-up door, that hides the kettle and toaster while leaving them plugged in and ready to use. We build the power point straight into the back of the cabinet so the cord never leaves the garage. It keeps your bench clear without unplugging anything, which is honestly the feature people thank us for most.
A charging drawer does the same trick for devices. We fit a power point and USB outlets inside a drawer so phones, tablets and the kids' devices charge out of sight, with cords tucked away rather than draped across the bench. If you go this route, plan for USB-C now rather than the older USB-A ports, since that's what most newer devices use.
Both of these are small additions at the design stage and genuinely awkward to add afterwards, so flag them early when we're laying out your kitchen.
Talk to your electrician early about circuits
Power points are only half the story. Behind them sit the circuits, and your electrician needs to size those properly. Big draw appliances pull a lot of current, and a few of them deserve their own dedicated circuit so they're not tripping the breaker mid-bake.
Think about which of these you have and where they live:
- Oven and cooktop (often hard-wired, frequently their own circuit)
- Dishwasher and waste disposal
- Microwave or built-in steam oven
- Rangehood
- Fridge and any separate freezer
In older Gisborne homes, especially the weatherboard places, the existing board sometimes can't take everything a modern kitchen wants without an upgrade. It's far better to learn that during planning than on install week. Because we run a local design-build-install model, we coordinate the cabinetry layout with your electrician's rough-in so the points land exactly where the appliances and drawers need them, not roughly nearby.
Get it on the plan, not in your memory
The one habit that saves the most grief is marking every outlet on the kitchen drawings, with heights and positions, before anyone starts cutting. A good plan means the sparky, the cabinet maker and you are all looking at the same thing.
We back our cabinetry with a 5-year workmanship warranty, but the best warranty is a kitchen that simply works the way you live, with a plug exactly where you reach for one. Get the power sorted on paper, and the rest of the build runs a whole lot smoother.
Sukhman Singh
Founder & Cabinet Maker, Flow Joinery
Sukhman designs and builds bespoke kitchens, wardrobes and cabinetry across Gisborne. Read more →
Reviews
No reviews yet — be the first to share your thoughts.
Sign in or create an account to leave a review.